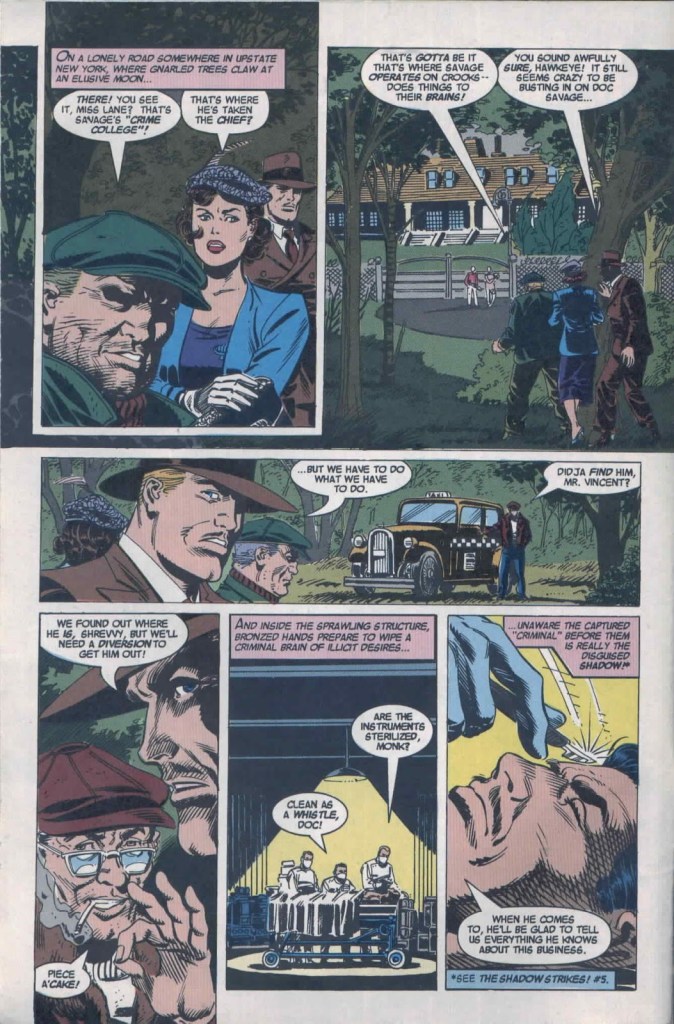
Returning to the DC Comics version of Doc Savage and The Shadow from Part 1, the cliffhanger from the previous issue was The Shadow, in disguise as a gangster, had been captured and brought to Doc’s Crime College to undergo the operation that wipes out criminal tendencies.
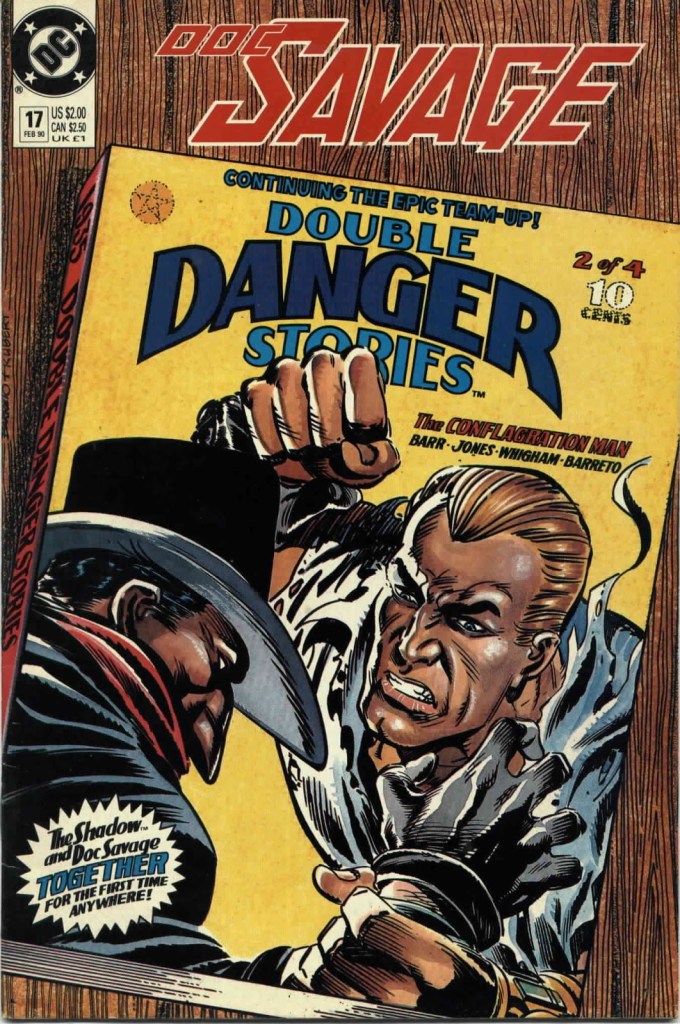
The cover of the story’s second part continues the pulp-cover Double Danger Stories theme, and the title/credits page is pretty much a pin-up of the two heroes.

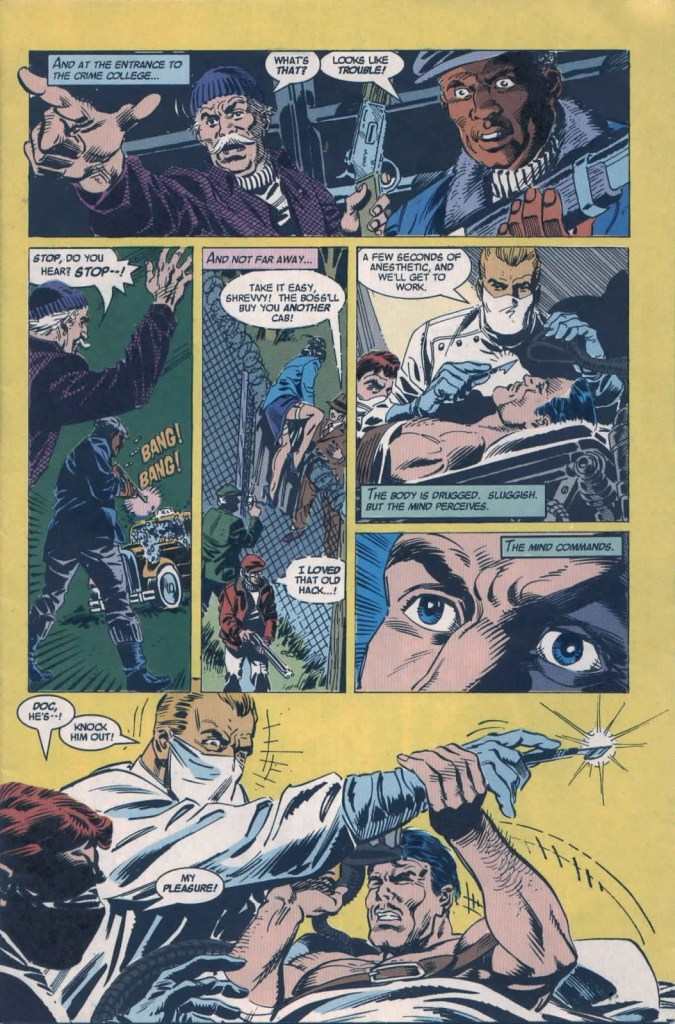
As the story swings into action, the cliffhanger (as they often do) is re-directed pretty quickly. Intriguing notion to use Doc’s criminal rehabilitation techniques on The Shadow…and fascinating to imagine the results, since The Shadow’s mind often out-criminals the enemies he faces. Nevertheless, as his agents work to free him, the disguised Shadow wakes up, and breaks out of the operating room.
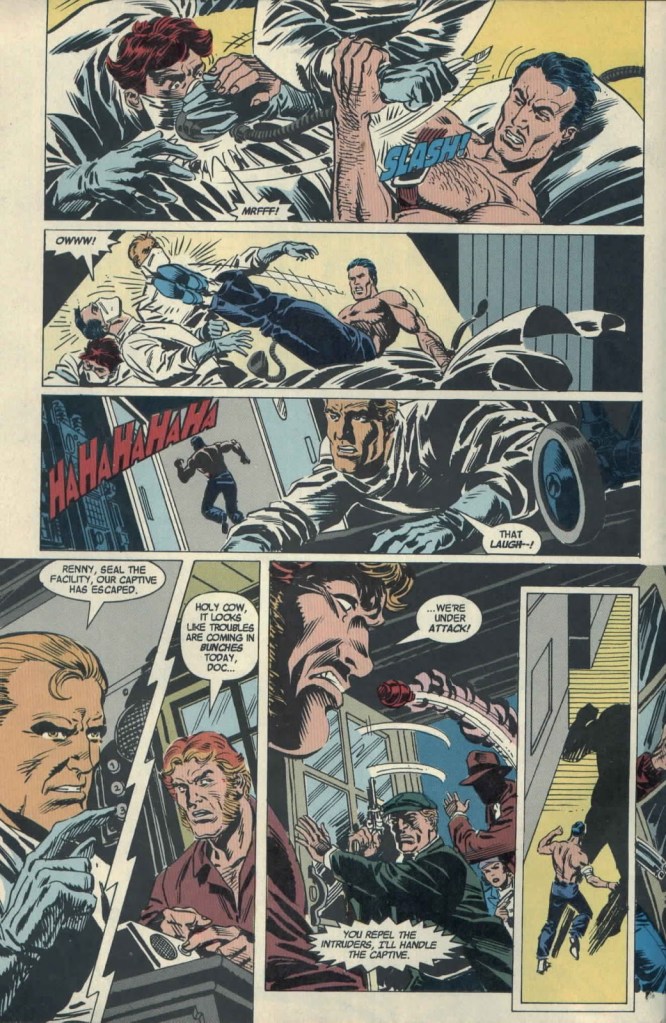
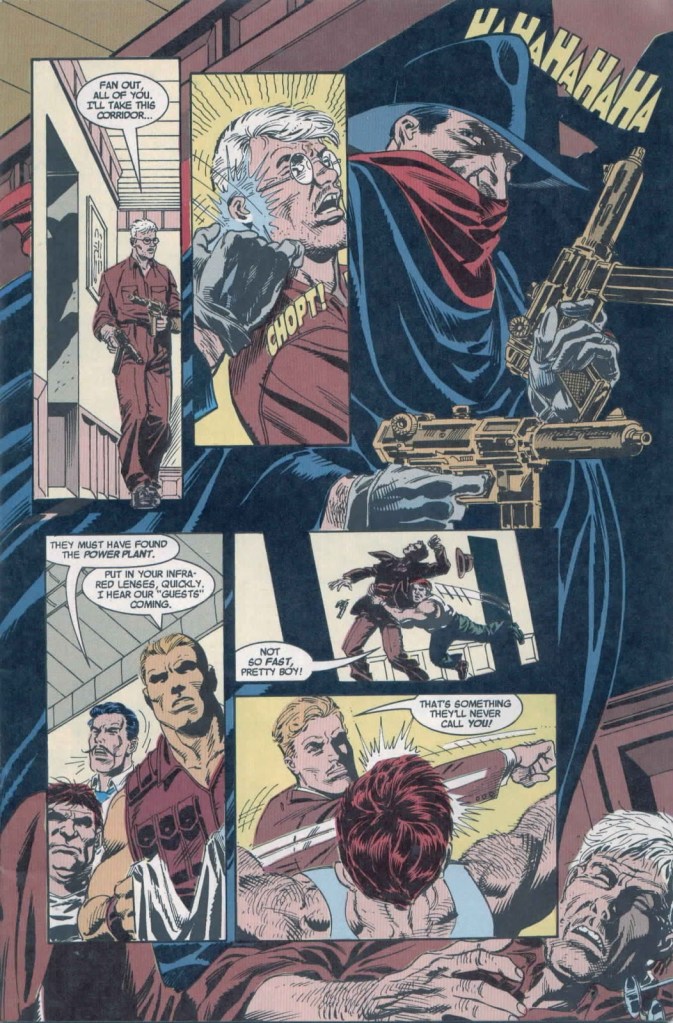
At this point the story, which had been progressing pretty credibly, decides inexplicably to abandon logic. It was a little disconcerting in the previous pages to see that The Shadow’s agents had so quickly found the Crime College (which isn’t exactly a public medical facility)…and are we to believe that Doc did not detect the fact that his patient was wearing makeup, even as he leaned over to make an incision in his head? And now The Shadow, at first as Al Ombra, makes his way around loose inside the College, only to incomprehensibly find a slouch hat and cloak to slip into. Such a frankly ridiculous transition pretty much wipes out the clever twist of The Shadow picking up a pair of Doc’s mercy pistols to use as weapons.
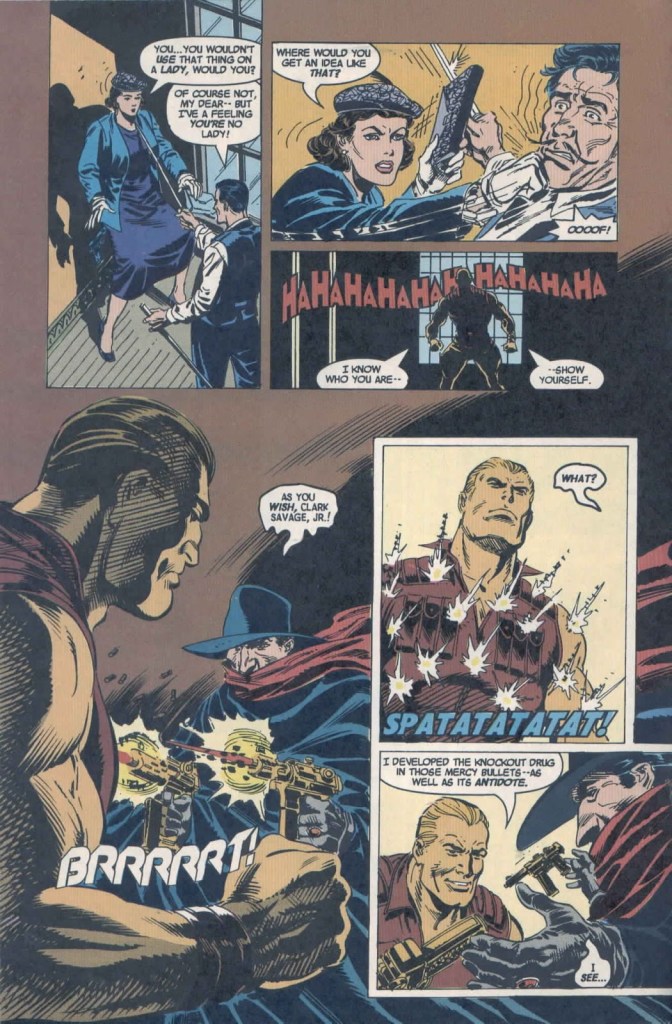
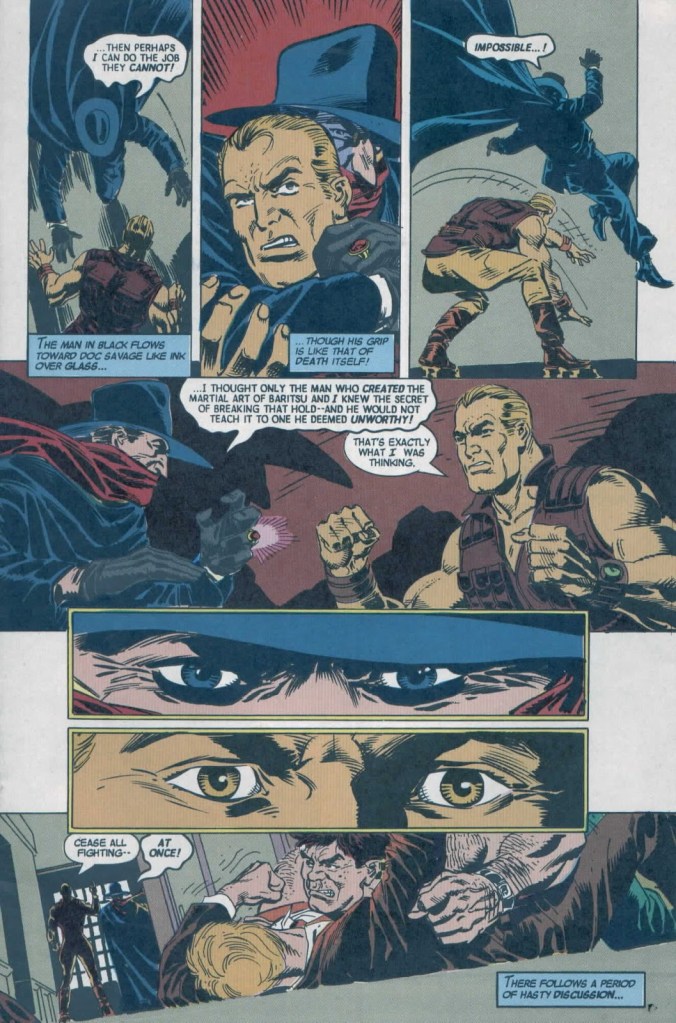
There is a bit of the comics cliche of two heroes fighting (essentially just to see them fight…as well as The Shadow’s agents fighting Doc’s aides). The confrontations are relatively clever and fun, but at least for this segment, the story had veered solidly into comics tropes, rather than pulp-style storytelling. Fortunately this is not dragged out long, as Doc and The Shadow recognize the techniques of their fighting styles as belonging to a teacher they both revere, which is enough to call for an end to the hostilities.
The storyline resumes — the two heroes and their entourages are joined, with a lot of exposition and repositioning of the good guys/bad guys dynamic rather than the somewhat-forced situation of good guys/good guys fighting each other. Frankly the story itself is somewhat labored at this point, perhaps showing some loss of cohesion due to being written by two authors in tandem. Sprinkled in with these setup scenes for the upcoming action are more novelty scenes: the agents and aides are divided in unique conjunctions between Doc and The Shadow, which leads to things like an intriguing conversation between Doc and Margo Lane, and an entertaining interlude where The Shadow becomes irritable over Monk and Ham’s perpetual quarrel.

Soon after, there is another big fight scene, which ends in a scene of carnage primarily wrought by The Shadow, and a unique clue scrawled on a wall…anyone recognize that chemical symbol?

to be continued…
